How to Design a Date-Code Inspection System That Survives Production
Most date-code inspection stations are demonstrated on clean samples in a quiet room and then meet condensation, vibration and a changeover. Here is the design order that holds up.
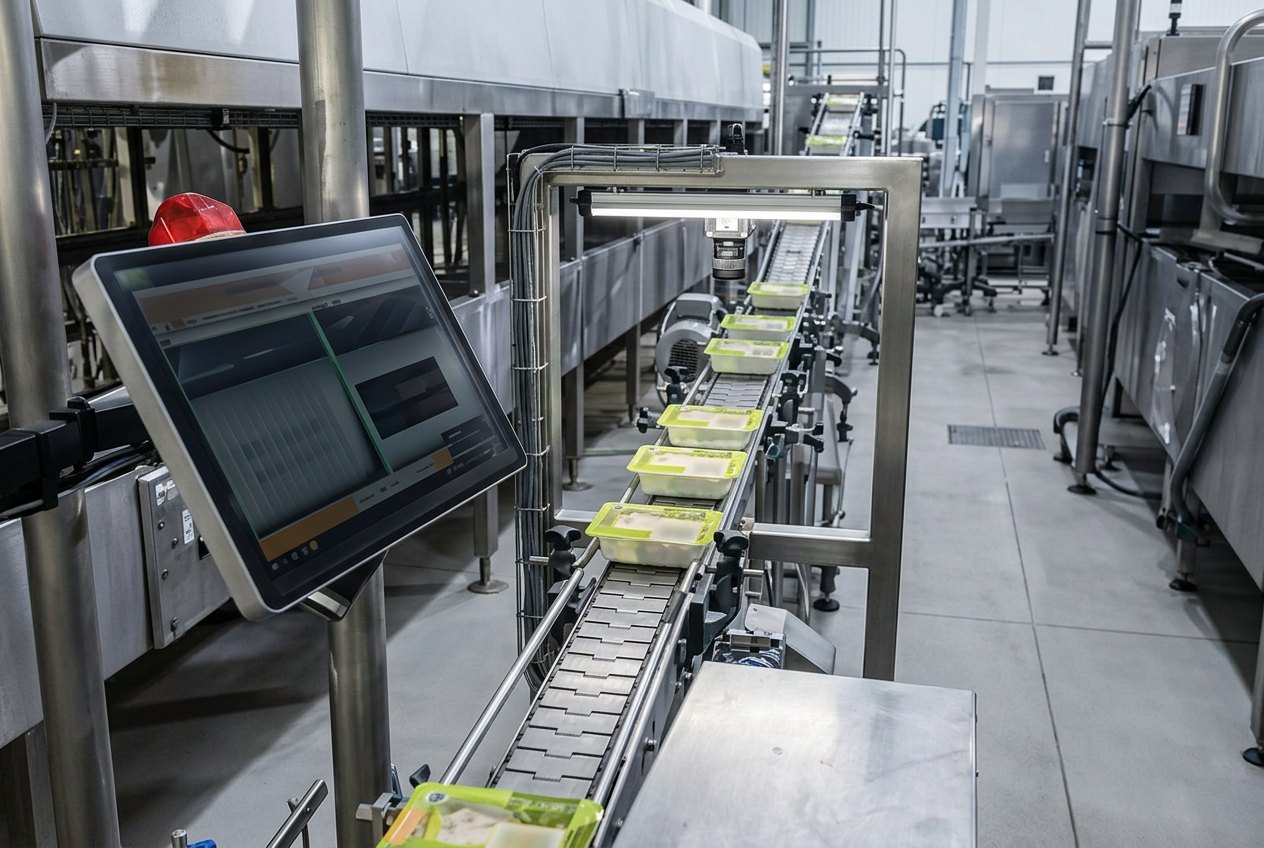
Start with the substrate and the print method, not the camera
The single largest determinant of difficulty is how the mark is made and what it is made on. Continuous inkjet on a matte carton and a low-power laser mark on a gloss foil lid are different physics problems that happen to share a name.
Before any hardware is specified, record the print method (thermal inkjet, continuous inkjet, thermal transfer, laser, hot stamp), the substrate finish, the nominal character height, the stroke width, the color contrast against the background, and how all of those vary across SKUs and suppliers.
- Thermal inkjet on carton
- Usually cooperative: matte, good contrast. Watch for dot dropout and ink starvation at the end of a cartridge.
- Continuous inkjet on film
- Contrast varies with dot placement and film tension; specular film dominates the lighting design.
- Thermal transfer on shrink label
- Ribbon wrinkle and partial transfer create broken strokes; the defect population is mostly quality, not absence.
- Laser on foil / metal
- Mark contrast is angle-dependent. Illumination geometry, not resolution, is normally the constraint.
- Hot stamp on flexible packaging
- Depth and pressure variation change apparent contrast batch to batch.
Solve the reflective-packaging problem with geometry
On metallized film, foil and gloss varnish, the illuminator reflects into the lens and washes out the mark. No algorithm recovers information that never reached the sensor. Geometry is the lever.
- Diffuse dome illumination for curved and highly specular surfaces: it removes the point-source highlight at the cost of contrast on low-relief marks.
- Off-axis / low-angle illumination for embossed or laser marks that scatter at grazing incidence.
- Crossed polarization (polarizer on the light, analyzer on the lens) where a specular highlight survives geometry changes. Budget for the light loss.
- Coaxial/on-axis illumination for flat, mirror-like surfaces where you want the specular return to be uniform rather than suppressed.
- Shielding from ambient plant light and from a neighboring station's strobe — an uncontrolled second source is a slow-moving fault.
Size the imaging chain: pixels per stroke, not megapixels
Resolution requirements for code inspection should be expressed in pixels across the narrowest feature you must judge — normally the character stroke — not in camera megapixels. Work the arithmetic in this order.
- 1. Field of view
- Widest code position plus part-placement tolerance plus margin. Include the worst case, not the nominal.
- 2. Smallest feature
- Narrowest stroke width, measured on real samples with a loupe or a bench image — not taken from the coder datasheet.
- 3. Pixels per feature
- Choose a target (commonly 3–4 px across a stroke for OCV, more for grading fine 2D codes) and treat it as a design assumption to be verified.
- 4. Required sensor width
- FOV width ÷ (feature size ÷ pixels per feature). Round up to a real sensor format.
- 5. Optics
- Working distance and sensor format set the focal length; check depth of field against part height variation before fixing the aperture.
Freeze the motion: trigger and exposure
Motion blur is the second most common reason a station that worked on the bench fails on the line. The rule is simple: the part must move less than a fraction of the smallest feature during the exposure.
Illustrative calculation. A pouch travelling at 0.5 m/s with a 100 µm narrowest stroke, and a blur budget of one quarter of that stroke (25 µm), needs an exposure no longer than 25 µm ÷ 0.5 m/s = 50 µs. That drives you toward a strobed light with sufficient peak intensity and a global-shutter sensor — a rolling shutter will also skew the character geometry.
- Hardware trigger from a photo-eye or encoder, never software free-run, so the mark lands in the same place every image.
- Global shutter for moving parts; rolling shutter introduces geometric distortion that corrupts character metrics.
- Strobe overdriven within its duty-cycle limits rather than a longer exposure under continuous light.
- Trigger-to-image latency characterized and recorded — the reject window depends on it.
Verify the expected string, and handle NO READ deliberately
The inspection compares the mark against the expected value for that unit, derived from the work order or PLC recipe. Three verdicts, not two: PASS, FAIL and NO READ. NO READ means the image was not usable — an unlit part, an occluded code, a mistrigger — and it needs its own reject and alarm policy because it is the condition that most often indicates the system, not the product, has drifted.
Reason codes are worth the effort at configuration time: no-print, partial stroke, wrong character, code out of position, unreadable image. When a line starts rejecting, the reason distribution tells the maintenance team where to look in minutes rather than hours.
Reject timing and fail-safe behavior
- Define the reject window in encoder counts or milliseconds and confirm the worst-case decision time fits inside it.
- Specify the fail-safe: if no verdict arrives, does the unit pass or reject? On regulated product the answer is usually reject, and it must be tested.
- Confirm the reject actually happened where the mechanism supports it; an unconfirmed reject is an assumption.
- Decide the behavior on a burst of consecutive fails — stop the line, alarm, or continue rejecting — before commissioning, not during it.
Trigger to reject
The validation panel is the deliverable that proves the system
Acceptance should be an at-speed run against a labeled sample panel that includes clean product and each defect class you claim to catch: missing code, partial code, wrong date, shifted position, low-contrast print, and any substrate variant in scope.
Report escapes and false rejects separately. A single blended "accuracy" number hides the tradeoff that matters, because tightening thresholds trades one against the other. Re-run the panel after any change to lighting, fixturing, optics or recipe — those changes invalidate prior results.
Frequently asked questions
- Can one camera cover codes in different positions across SKUs?
- Sometimes, if a single field of view contains every position at adequate resolution. When it cannot, the honest options are a second view or a mechanical change to part presentation — not a wider lens that starves resolution.
- How do we handle changeover without recipe chaos?
- Drive recipe selection from the work order or PLC product register, keep recipes under revision control with an audit trail, and prevent floor edits from becoming untracked variants.
- What if the code is only marginally legible to an operator?
- Then the print process is the problem and inspection will report it constantly. Fix or characterize the marking process first; an inspection system installed on top of an unstable coder mostly produces false rejects.
Related systems & engineering resources
More from the Engineering Journal
Code & OCR/OCV
OCR vs OCV in Manufacturing: Reading a Code Is Not Verifying It
OCR answers “what does the camera think this says?”. OCV answers “does this match what this unit was supposed to be marked with?”. On a multi-SKU line, only the second question protects you.
Label Inspection
Wrong-Label Prevention: Identity, Placement and Variable-Data Verification
A label station that only checks presence will pass a perfectly applied wrong label. Preventing mislabeling means checking four separate things, and one of them is a data problem.
Print & Web Inspection
Line Scan vs Area Scan for Print Inspection: Where the Architecture Changes
The choice is not a camera preference. It changes synchronization, illumination, bandwidth, defect reporting and what the operator can act on.